Tuesday 27 September 2016

September GUEST DESIGNER: Creative Retreat - "the story"

Hey scrappy friends, I'm back again to share my last Guest Designer layout for over at the Creative Retreat Kit Club.

I have loved being their September Guest Designer using. their Blue Moon September Kit.

So here is my final layout or their blog and I hope you enjoy.

Lydia xxx

---------------------------------------------------------------------------------------------------------------------------------------------------------------------
 
Hello again friends, Lydia back again to share my last project using this month’s Blue Moon September Kit as the Guest Designer this month. I have loved creating with this kit and I cant wait to keep creating with it as I still have heaps of products left.
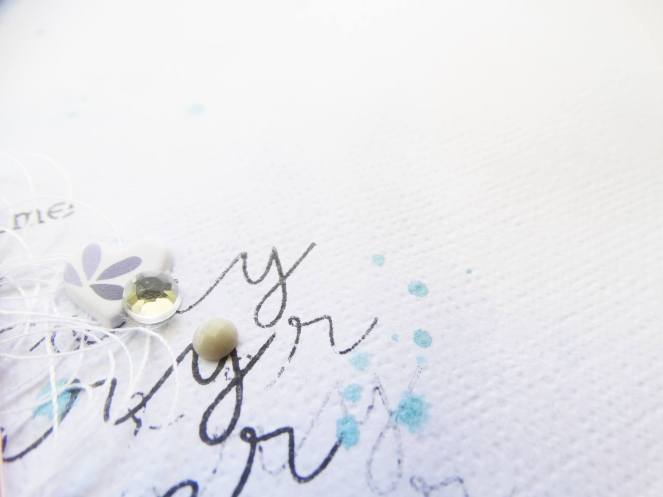
With this 12×12 layout I changed it up compared to my normal layouts and decided to do some white on white and mainly focused on the beautiful light purple which was in the kit. I’m in total love with how it turned out. I felt like I revealed my inner Suse Fish. The first thing I did on this layout was add some watercolour package technique using a very pale purple which you my not be able t0 see in the photo.
 
14440678_1285908811473562_4465086298717106822_n
 
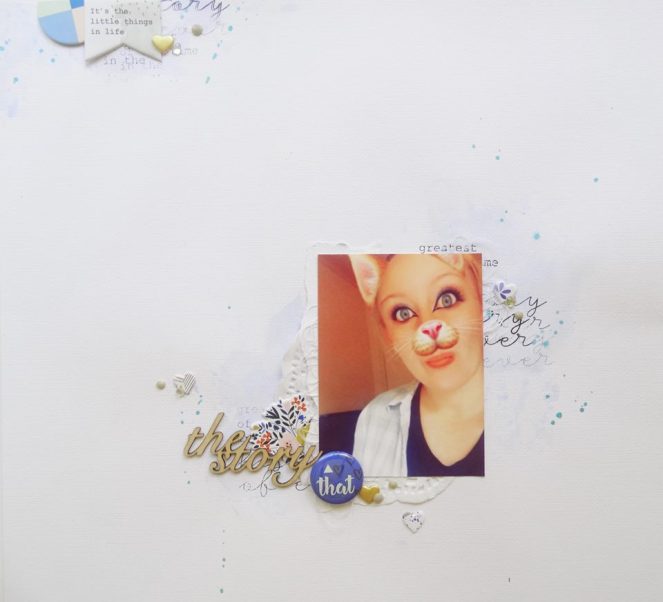
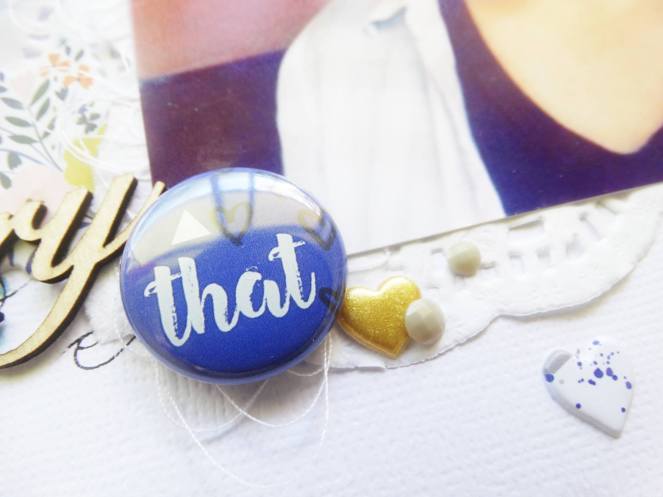
I then knew on this layout  wanted to use one of the beautiful flair that came in the kit, so I chose the beautiful purple one that says ‘that’ which I think is perfect for pointing at that silly Snapchat selfie of myself.
 
14352132_1285908924806884_6808670362469188153_o
 
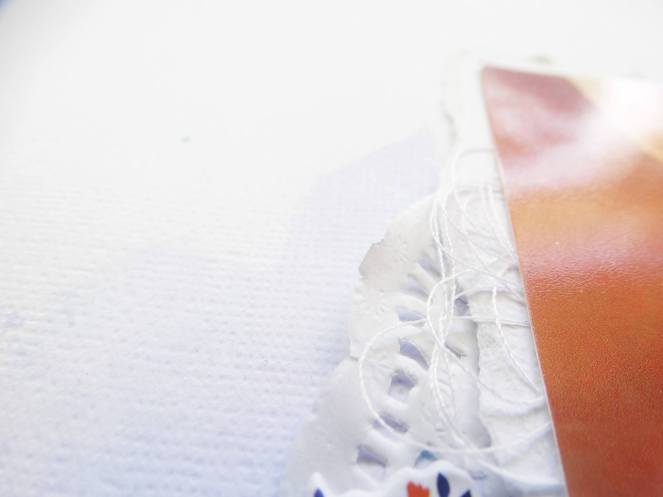
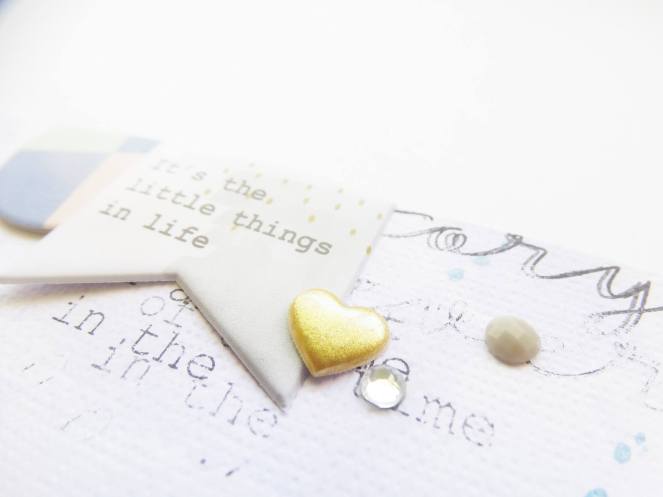
This layout I wanted to add some white on white layouts so I added a strip of tarred white cardstock and a white doily behind my photo. I also added some texture by using some embossing thread as a type of layer too.
 
14444672_1285909168140193_2609552964850375335_o
 
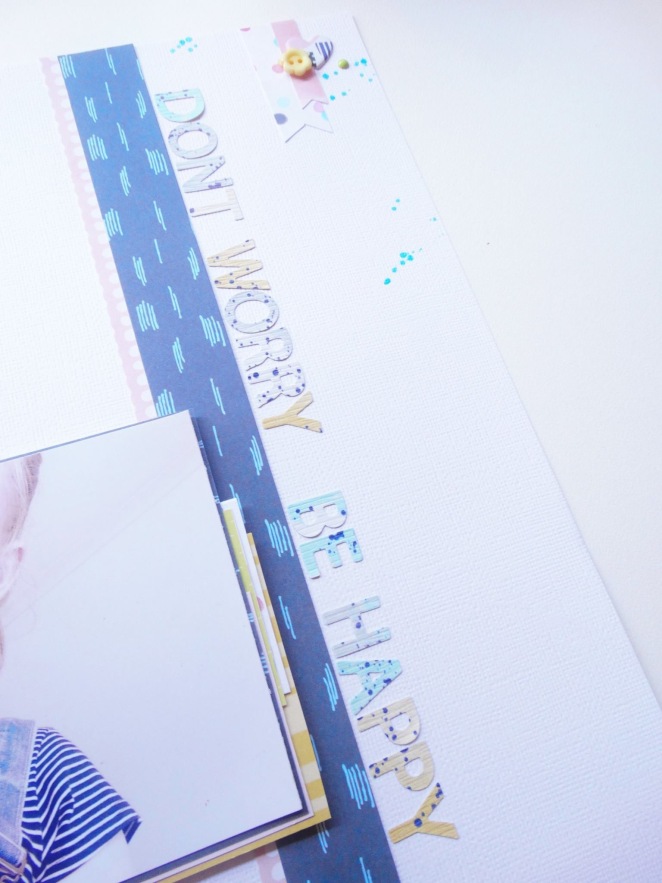
My title I knew I wanted to use this wood veneer that came in the kit so I added it to the bottom left of the photo.
 
14364653_1285908881473555_8904496637836204226_n
 
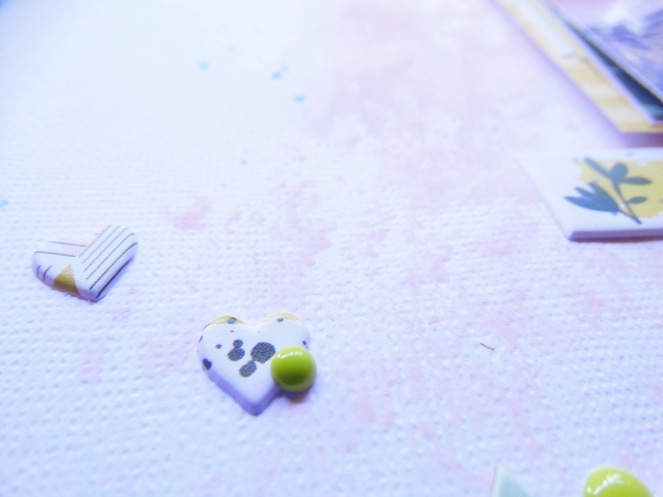
As you can see I also added some stamping as I loved the font of the stamp set that was included in this month’s kits. I also added a few of the PinkFresh puffy stickers and a few rhinestones give it a bit of a finishing touch.
 
14425358_1285909018140208_2863821655705402878_o
 
14435136_1285909108140199_7627289621112840474_o
 
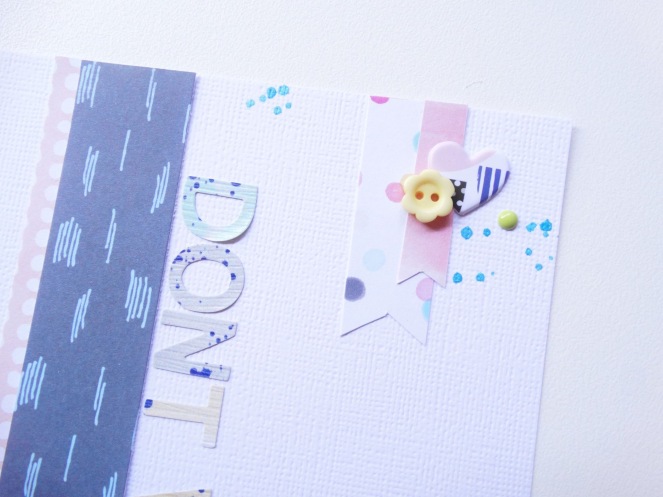
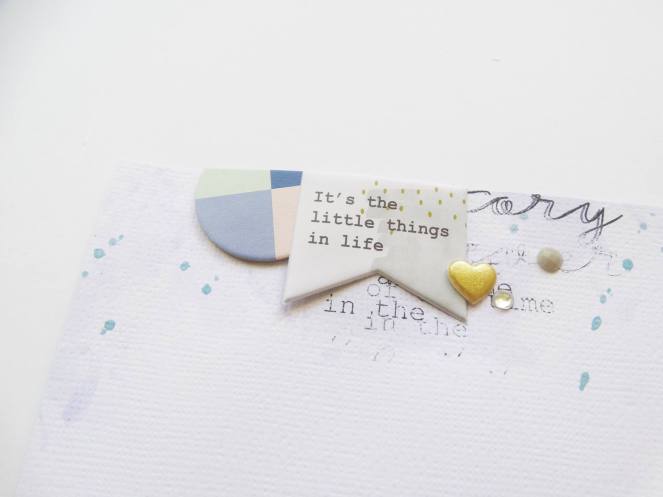
And lastly I did a little cluster in the top left corner with one of the exclusive chipboard pieces and one of the PinkFresh puffy stickers. Have I told you that I also love the gold puffy stickers that were also in this months kit?
 
14424919_1285908951473548_7251974423231331102_o
 
14444646_1285909284806848_1500931972989644624_o
 
So that’s it from me now. I hope you have all enjoyed my two creations using this months Blue Moon September Kit. I have loved creating as this months Guest Designer and I can’t wait to see lots of other beautiful creations from the Design Team in the future.
If you would like to pop over to my blog here is the link: http://lydiascr.blogspot.com.au/
You can also find me on these social media platforms: Instagram – @lyd_gibson
                                                                                Facebook - https://www.facebook.com/lydiascrftyroom
Lydia xxx

Wednesday 21 September 2016

September GUEST DESIGNER: Creative Retreat - "Be Happy"


Hello scrappy friends,
This month I am so excited to be guest designing for the lovely Danielle over at the Creative Retreat Kits blog.


This month over on their blog I will be creating 2 projects using the Septemer "Blue Moon" Main Embellishing Kit. I love, love, love this kit and the navy with the pops of pink and yellow.

So I have already posted my first project over on their blog but I thought I will share it here too. I love how it turned out and I can't wait to share my second creation using this kit later this month.
Lydia xxx
---------------------------------------------------------------------------------------------------------------------------------------------------------------------
 
Hello creative people, I am beyond thrilled to be guest designing for Creative Retreat with this month’s gorgeous kit. I am total love with the gorgeous blues with the pops of pink and yellow.
So let’s start by getting to know me a little bit.


I am Lydia Gibson, a 14 (turning 15 in a few weeks) year old creative teenager who has a huge passion in documenting her everyday. I live a small country town in south-east Queensland, Australia with my parents and younger sister. I currently love to document my everyday through my love of photography with Project Life, Traditional 12×12 layouts and lots more.
 
Today I’m sharing a traditional 12×12 layout using the beautiful embellishments from the September kit.  I love how it turned out!

image2
 
I have currently been loving the Paige Evans ‘Fancy Free’ collection. When I first saw which kit I was getting I just knew I had to use those papers. So I layered some of Paige’s beautiful papers behind my photo to give it some extra pop of yellow and pink.  You may be able to slightly see that I have done a light pink watercolour behind the photo also.
image3
Once I had layered paper behind my photo and added some watercolour to the background I started embellishing with the gorgeous PinkFresh Studio puffy stickers which are in this months kits. I love the texture these puffy stickers bring to the layout. I also added some of the exclusive chipboard shapes that are also in this kit.
 
image4
 
I did add some strips of paper down the page and added my title with those beautiful water coloured, splattered alphabet from PinkFresh Studio down the page, in which I don’t normally have my title like that. but I love it!!
 
image6
 
I did add a small little cluster in the top right corner with some paper banners and one of those PinkFresh puffy sticker hearts. I also added an enamel dot and button from my stash.
 
image7
 
And lastly I did another little cluster at the bottom left. I also added some navy splatters to compliment from the alphabet title print.
So I hope you enjoyed this layout as much as I did creating it. Be sure to grab one of this months gorgeous kits to have a creative time with. I will be back later in the month with another project.
Lydia xxx
Instagram: @lyd_gibson
 

Helmar Design Team - Up, Up and Away

WOW, It's September, I think it's time to catch this little lonesome blog up to date.
 
So today I am sharing my August Helmar Design Team project. I oved how this project turned out and I hope you do to, so checkout down below for the full process.
 
Lydia xxx
 
---------------------------------------------------------------------------------------------------------------------------------------------------------------------
Hello beautiful people,
Lydia here today sharing a fun Off the Page scrapbooking project. After some thought I came up with an idea that I saw on YouTube as I haven't really ventured off traditional 12x12 layouts.
So I made a funky mobile.
 
DSC00231
 
I absolutely love how this turned out.
The things you will need for this project are:
DSC00240
 
DSC00213

 
First off I picked out a whole heap of patterned scrapbooking paper from the Dear Lizzy 'Happy Place collection' as well as cutout a hot balloon template.
 
DSC00216
 
Next I traced around the hot balloon shape on the back of all the patterned paper. Depending on the size of the paper I had I may have traced it several times and cut them all out.
 
DSC00217
 
DSC00219
 
I then folded each balloon in half like shown below.
 
DSC00220
 
I used the Helmar Super-Tac Glue to adhere each balloon to make then 3D. I used 6 of the cutout balloons to make them 3D. I made 5 of the 3D balloons for this mobile.
 
DSC00221
 
 
Now to attach the balloons to the embroidery hoop I simply placed a long piece of thread down the middle between 2 f the balloon template pieces before gluing together them together and tied it to the middle piece of the hoop before placing the outer of the hoop back.
 
DSC00224
 
Now every little hot air balloon needs some little baskets. I simply just free cut these to look like baskets.  I adhered two baskets together using the Helmar Craft & Hobby PVA Glue while placing the thread between the two baskets with gluing.
 
DSC00223
 
I did the same with the clouds.
 
DSC00226
 
So, that is the fun project I got from watching a quick YouTube video and I love how it turned out.
Here are some close up photos.
 
DSC00231
 
DSC00235
 
DSC00236
 
I hope you al enjoyed this project.
 
Name badge